HOUDINI DEVELOPMENT TOOLS
Shelf Generator HDA


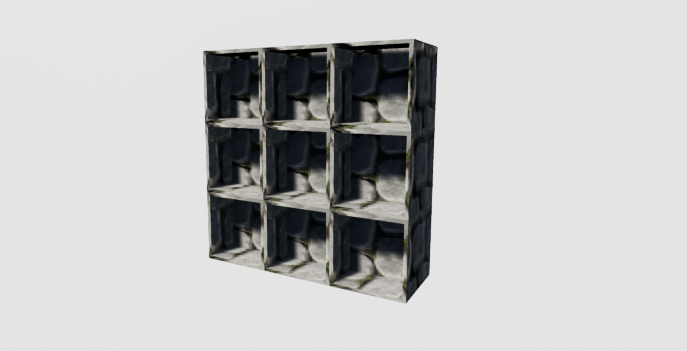


This tool allows you to generate custom shelving units based on your needs and preferences. You can choose from two different styles of shelves, and both are customizable in size, shape, quantity, and materials. The cubby shelving was fused and then UV’d to allow for better optimization. Creating this tool was great practice in using the copy and transform node.
Populate Mesh Tool HDA


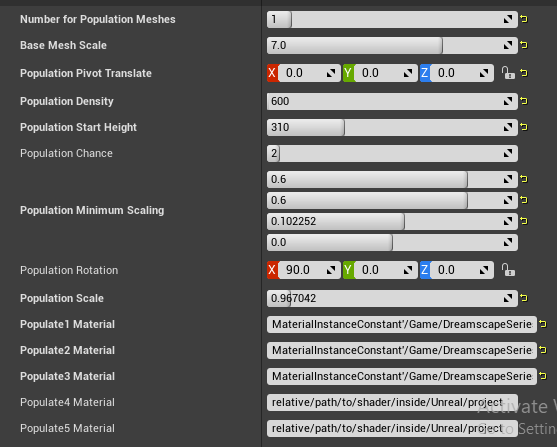
This simple tool allows you to scatter a number of different meshes along the surface of your first input mesh. You can also customize how far up the mesh the scattering starts. This is great for adding things like grass, flowers, ivy, or leaves.
Ivy Generator HDA


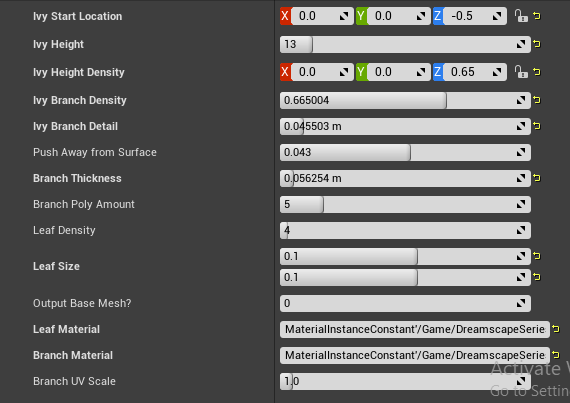
This tool takes an input mesh, generates grids along the Y axis (Z in Unreal) equidistant from each other, then generates collision points where the grids and mesh intersect. These points are then reordered based on height and curves are drawn to connect these points. These curves are then turned into polygonal tubes and masked leaf squares are scattered at points along the tubes.
Path Generator HDA

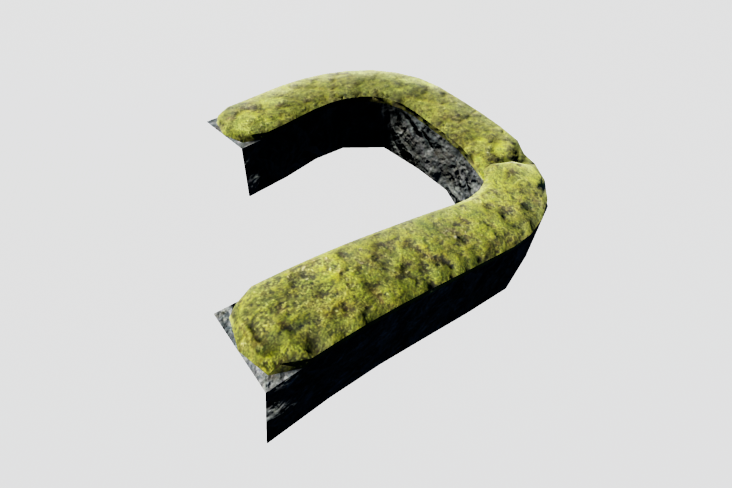


This tool takes an input curve and spaces cubes out equally along the curve. Then, the tube points are fused for a singular piece of geometry. After that, the top of this geometry is extruded and broken out into a separate mesh piece. These two meshes are then UV’d and given materials before being merged. This tool currently struggles with harsh turns and corners, since the cubes have a hard time fusing to the correct points when they get stacked on top of each other at those points.
UNREAL BLUEPRINTS
Firefly Shows- Niagara Systems and Blueprint Triggers


These particle effects were part of a massive system of iterable “firefly shows”. This included complex Niagara systems, custom mesh shaders, and detailed blueprints. For an in-depth breakdown of the particle systems and blueprints, visit the page Wilderverse 2.0.
Camera Rig BP

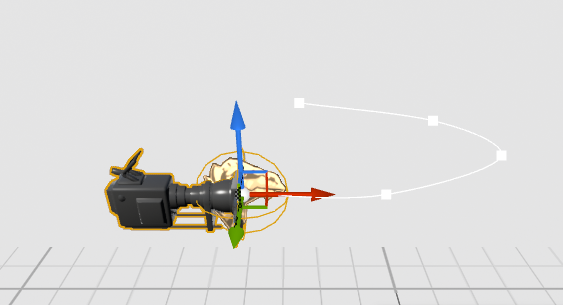


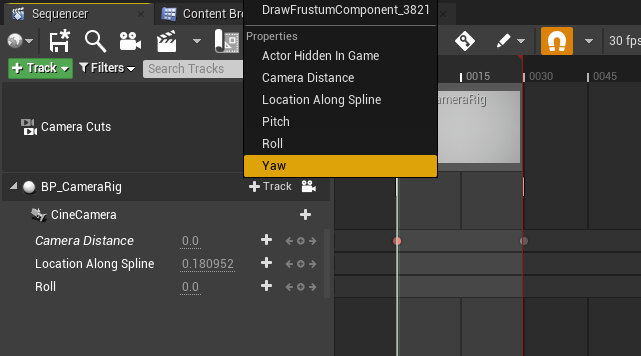
This simple tool was designed to work with Sequencer for smoother cinematics. While it was originally intended for slow-moving and smooth archvis shots, it is versatile enough to be used in any scenario. The camera always stays pointed at the billboard, which is there solely for easier reference. This allows you to move and rotate the camera while always keeping a steady focal object. This is an alternative to Unreal’s built-in focus tracking tool, which is consistently buggy. This tool also allows for movement along a spline if you so wish to use it. This allows you to set up your camera track within a space and trigger how quickly it moves along the spline- allowing you to easily speed up some areas and slow down others. The best part about this blueprint is that you can choose which aspects to control in the Sequencer. If you plan on using the look-at tracking and rotator but not the spline tool, you simply don’t add it to the sequencer track, making the process simpler and smoother.
Actor Instance BP


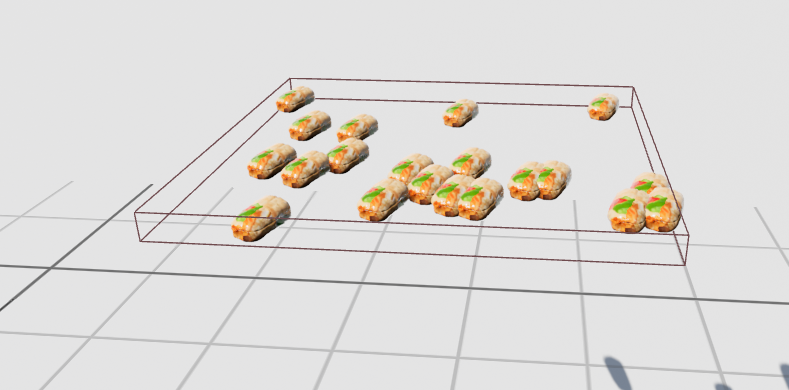
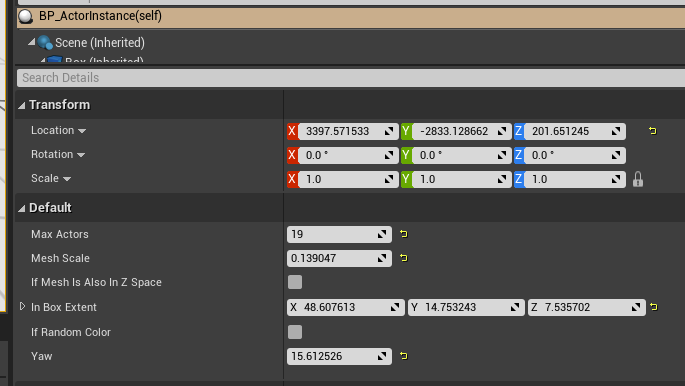
This tool allows you to take a box, change its shape, and then fill that shape with instanced meshes. It contains options for placing instances on a 2D plane or a 3D box. The instances can then be set to share the same yaw. This tool is extremely versatile. The next steps with this tool are to allow randomized rotations per instance and to detect collisions to stop meshes from forming on top of one another.
Spline of Meshes BP


This tool is fairly simple. It combines the concepts of a spline mesh generator (of which there are many tutorials on how to make) and some aspects of the actor instance tool.
UNREAL BLUEPRINT EDITOR UTILITIES
Get All Used Textures BPU

This tool is the best thing I have ever made. I’m in love with it. I would kiss it if I could. The biggest annoyance to me has always been when I’m working on texture optimization and I’m looking at actors in the scene, but I have to go through like a million menus to find the textures these assets are using. This tool allows you to right-click on any static mesh actor or skeletal mesh actor in the scene and it immediately opens a window with all the current textures being used. In the case of material overrides, it grabs the overridden material textures, not the original asset textures. In the case of material instances, it will not open up the instance’s textures, but it will open up the instance, from which you can easily grab the textures.
Rename Files BPU

This is just a pretty standard tool. It checks to see what type of asset a selected asset is and names it accordingly.
Replace Material Overrides BPU

This tool allows you to fix any actors with material overrides. In order to use it, you need to select the actor you wish to check as well as its original asset in the content browser. Then, the utility tool compares them against each other and replaces the asset’s materials with the actor’s active material. You can also use this tool between actors and assets that don’t share the same mesh. However, if they have more than one material channel you may get unexpected results.
Outliner Organizer BPU

This tool allows you to select all actors in your scene and then automatically folders and categorizes everything by asset type. Anything that is not a recognized asset type goes into the “Blueprints and ECT” folder. It works extremely well! Sometimes though, assets don’t always go to the right folder. I’m still working on that bug, but for right now all you have to do is just use the tool again and it fixes itself.
Set Level of Detail Widget


This widget just lets you set custom LODs for an asset. This tool could use some TLC but given that so many projects use Lumen now, I haven’t found it worth revisiting yet.
Set Texture Size Widget


This tool has actually been super useful, and is probably the tool I use the most. All you need to do is select a texture asset and use the dropdown to select a new size for it. This is such a small tool that speeds up the optimization workflow incredibly. It also makes it much easier to change a texture and see its effects in real time on your screen, since you no longer have to navigate through multiple menus.
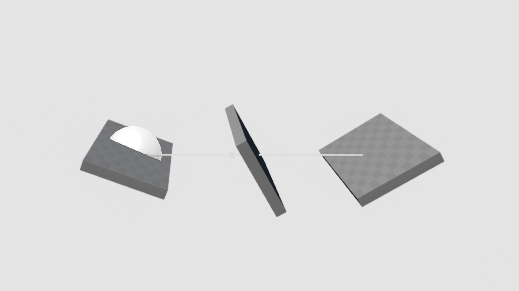
Quick Transform Tool Widget

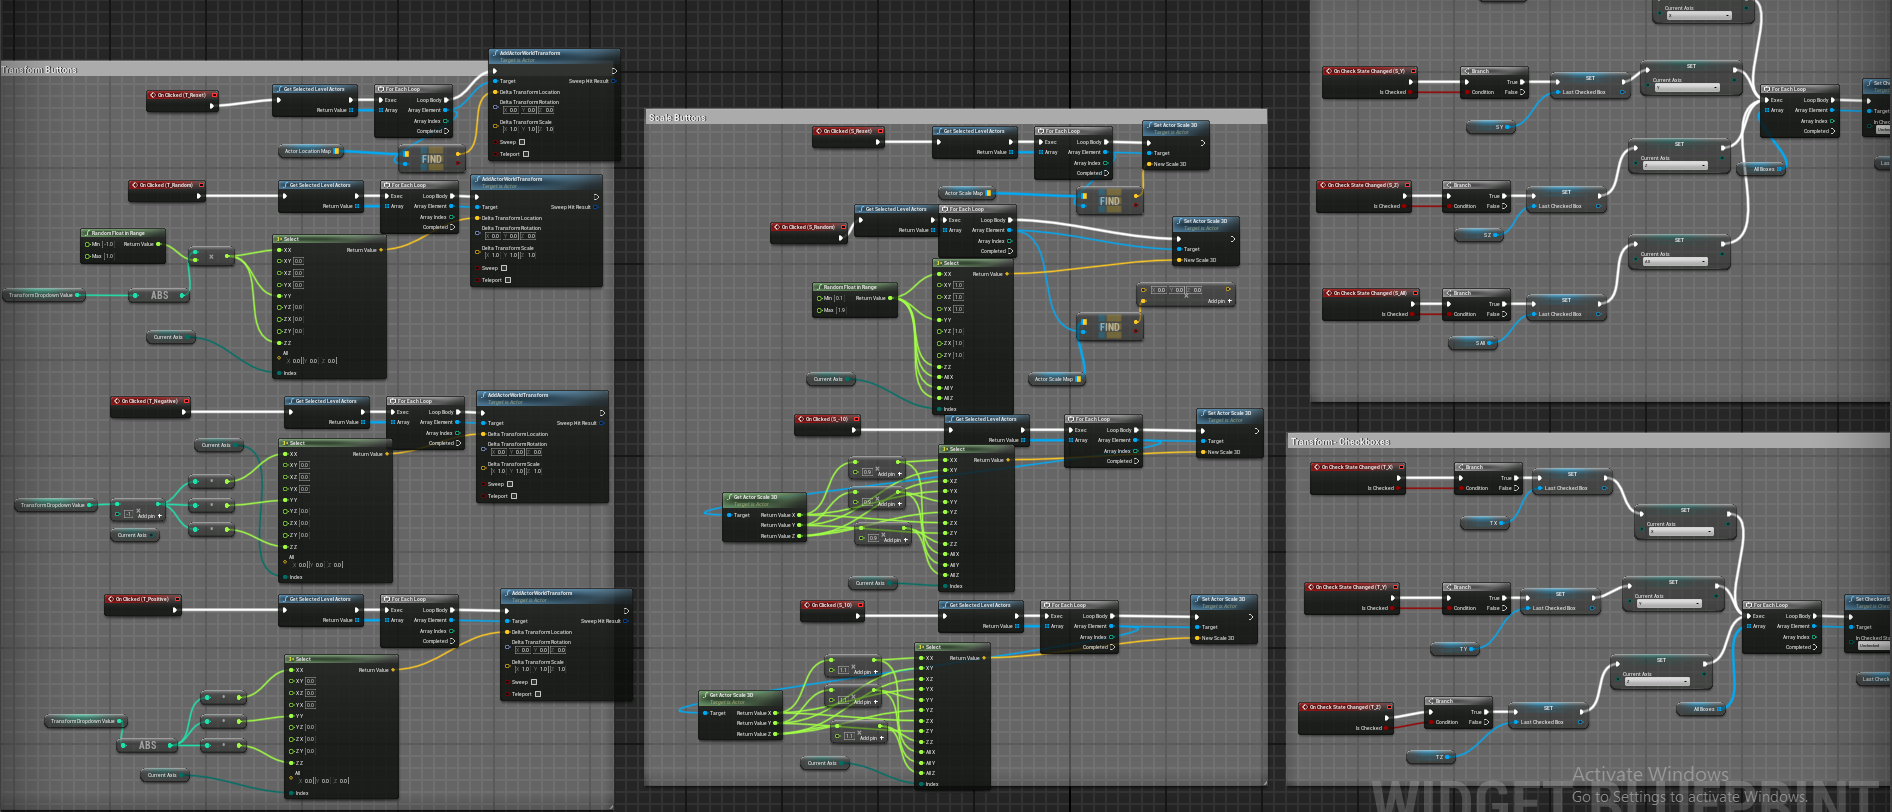

This tool was started by following Tech Art Aid’s video on YouTube, however I chose to expand on it. This tool allows you to save an actor’s transforms, then modify them as much as you like, with the option to reset the transforms at any time. This tool can also be used on multiple meshes at once.